Saturday, April 7, 2012

Simple Easter Decorating

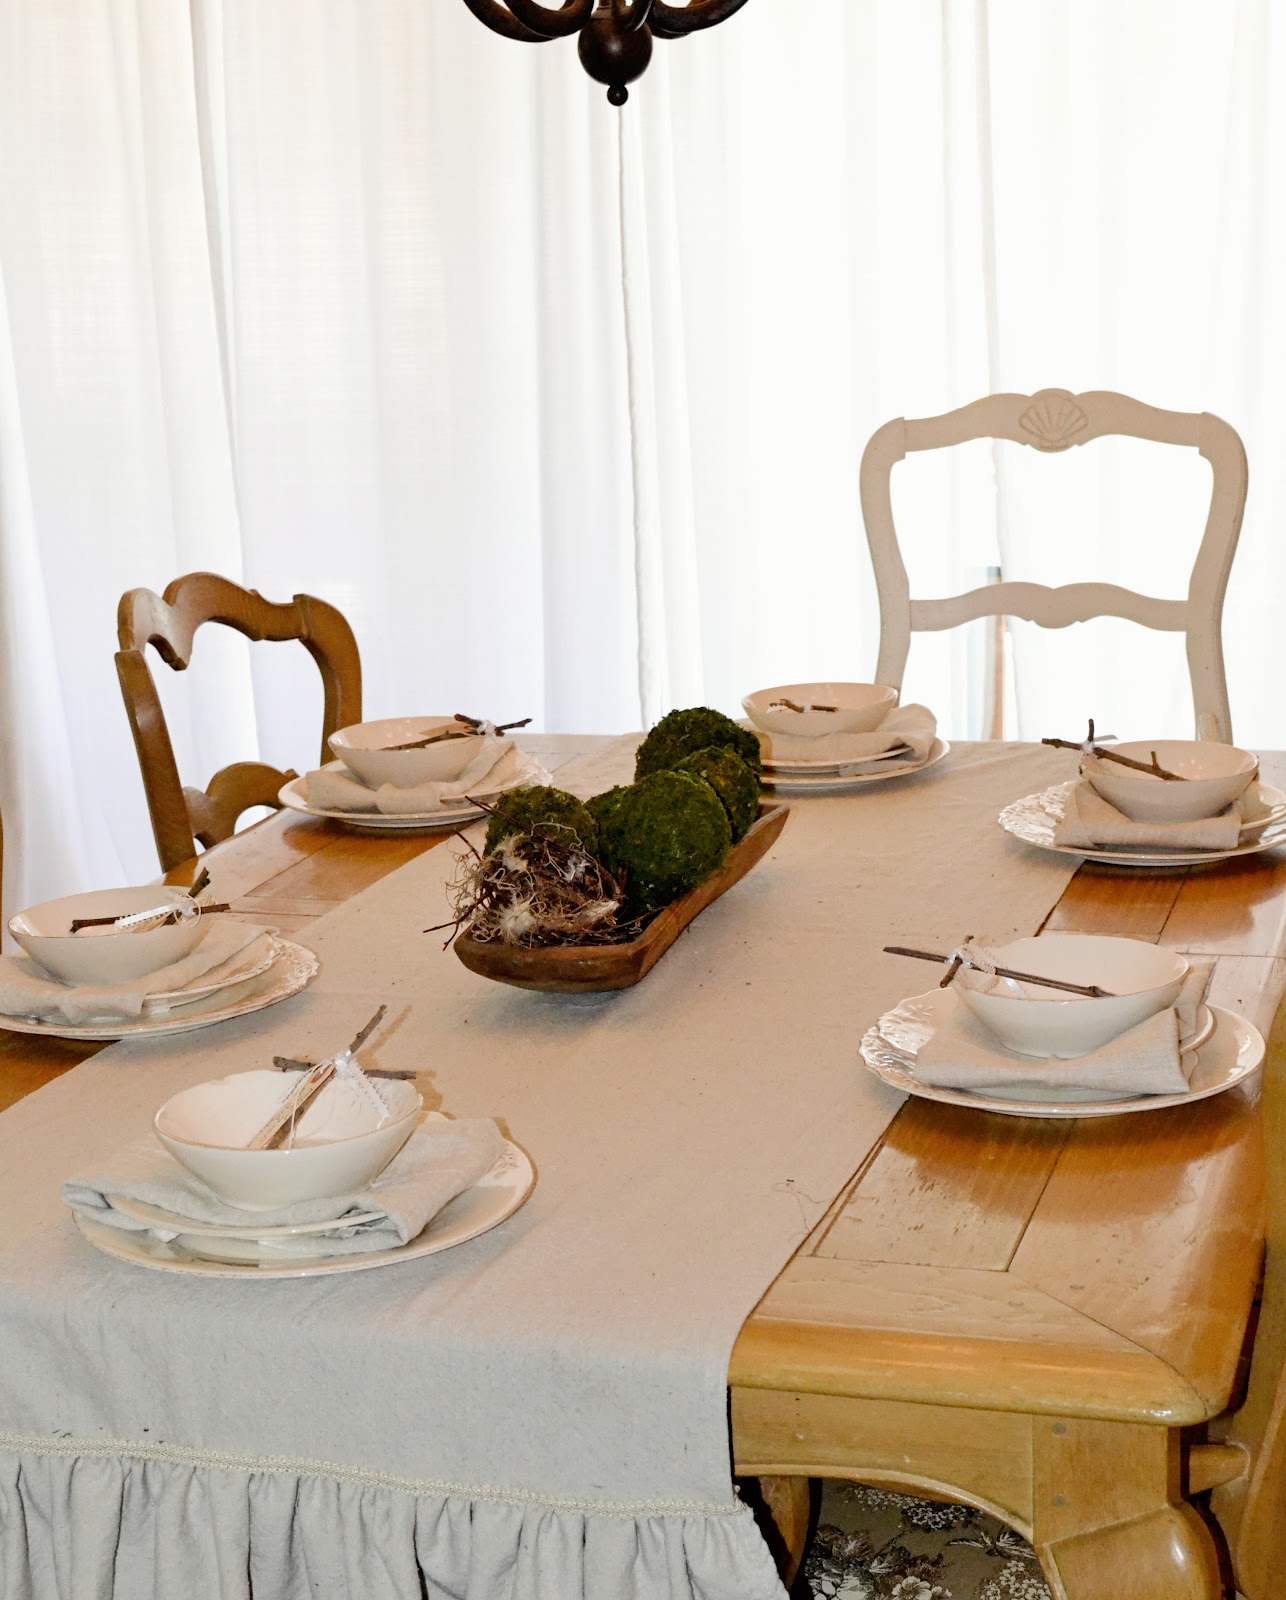
We've been so busy these last couple weeks, I really hadn't done any real Easter decorating. I wasn't planning on doing much, especially since we don't  entertain on Easter. Meema {my mother in law, and Lorin's mother Anna} hosts a wonderful Easter egg hunt and brunch every year. However, we decided to host a little pre~Easter luncheon at our house for my Dad, Cathie and sisters the Saturday before Easter so I decided to set an Easter table. 
This really didn't take much.... about one naptime {2 hours or so}. 

I started by creating little place settings for everyone. Ryder is still a bit young to participate in egg dying, but this is a super simple project, and a great way to get the kiddos involved. 


Ryder and I headed to the park and collected some branches and twigs {he found most of them}! Here's some of what we came home with {the fabric scissors were not found at the park} :

I tore the branches into the appropriate sizes to create a cross, and cut some ribbon about this size. You can use twine too, I liked the look of the satin-y ribbon against the rugged twigs:

I simply wrapped the ribbon around to hold the cross in place. 
I added the following sales tags and wrote different scripture related to Easter on each one


In the end, I prefer the cross sans tag to use on each plate, but I'll use them with the tags to give out on Easter


I also added "Happy Easter" to my burlap banner. I went a bit banner crazy for Ryder's birthday party, and I keep one still hung over the mirror in the dining room. I found some foam craft letters at Joann's, they were about $4.99 for a pack containing multiples of each letter. They're brightly colored, but I simply paint the letters appropriate to the holiday and use them on the banner. There was white for Happy Birthday, pink for Be My Valentine, I painted them off-white for Happy Easter
I also managed to get paint all over my brand new jeans, I was in a hurry to get everything done so I didn't bother to change. Serves me right for rushing through a project! {thankfully it was acrylic paint so I scrubbed it with a sponge and warm water and it came right out} 


Here's how they looked before:
 and after:


the letters have a self-adhesive back so it works like a charm! 


I added some moss balls and a bird's nest, complete with feathers and some Spanish moss to a vintage dough bowl as a centerpiece:


In the end I decided to use lavender instead. What can I say? I'm a sucker for lavender.

Here's the completed table:

I wrote out this quote by Martin Luther on our chalkboard above my workspace in the kitchen, You can find a beautiful printable of this here, from Dear Lillie.

There you have it, pretty simple Next year my Little Man and I will get creative with painted eggs, 
Have a wonderful Easter!
B

Thursday, April 5, 2012

Take me out to the ball game!

Yay for opening day of Baseball!  We are a baseball family here at the Paul home...Go Dodgers!  As I was preparing for today's blog, I suddenly had an idea that tied into baseball.  So I thought it was appropriate to share this story today.
When we moved into our home a few years ago, the large window in our family room was begging for a window seat.  I collected many ideas- from a large bench stretching the length of the window to a built in window seat that I would have my dad help me build with storage underneath.  I searched for styles that I loved and storage that I needed but simply couldn't decide.  What was missing from my ideas? The answer came in the form of 2 sets of Vintage Dodger Seats that we had sitting in storage.  Yes! It was finally clear.  When my husband, Gary, brought them into our home, not only did they fit perfectly under the window, but they also had room for baskets underneath to store the littles' toys.  I found 4 burlap and linen covered baskets that tucked right underneath.  B made the two pillows for me using drop cloth, burlap, and red and white striped ticking fabric. I love the way the pillows make the seats look so inviting and how it ties everything together.  The red and blue seats are faded just enough to give them a perfectly aged look and the sides and arms of the chairs are charcoal gray metal. I love that you can see a faded yellow K on the side of the blue chair.  So much character and history...  


These seats have seen many wins in Dodger Stadium.  In 1973, they were bolted down in the stadium giving a place for family and friends to sit and maybe enjoy a Dodger dog or two...Root, Root, Root for the Home Team...have some laughs or cry some tears. They were taken out in 2005 when the stadium was renovated and sold off in pairs. I am so thankful to have them now in my home where they give us a place to sit and enjoy a cup of lemonade or two...Root, Root, Root for the Home Team...have some laughs and cry some tears. They are part of what makes this house a home...

Until we meet again...
Lorin

Wednesday, April 4, 2012

A Simple Ruffled Table Runner

I'm constantly looking for new ways to style our dining room. Our house is a Ranch-style home with an open floor-plan, and when you walk in the front door you see straight on through to our dining room table. Our dining room table is a beautiful piece, given to us by my Dad and Stepmom Cathie.
Unfortunately the table, while beautiful, desperately needs a good stripping and refinishing. I'd like to strip it and give it a more natural, raw "Restoration Hardware" inspired finish. Lately I've been trying to convince Jesse to let me try and refinish it, but there are intricate carvings along the side and on the legs, which can be quite difficult to sand down without ruining. I've looked into quotes on having it professionally done- but it's quite expensive (at least $1,000) and I hate spending money on something we could theoretically do ourselves. In the meantime, I have to get creative on covering the table without it looking sloppy. I've made a number of different table runners and tablecloths, this is by far my favorite.
 I absolutely love working with drop cloth. I've made curtains, ottoman slipcovers and countless pillows using drop cloth. Not only is it incredibly affordable (I paid $14.99 for an 8x14 piece), it's durable, machine washable and has a natural, rough linen look that I love and crave.

Here's what you need:
-one long piece of drop cloth (you can find it at any local hardware store) or fabric of your choice, cut to your desired length
- two short but long pieces of drop cloth or fabric. My rule of thumb when making ruffles is to always use 3x the desired length to get a healthy ruffle. (For example, if your runner will be 10 inches wide, you need to have a piece of fabric to ruffle that is 30 inches wide)
see below:
yes, that's my dog's butt in the picture. He was trying to help.
I got lucky and was able to just cut my drop cloth piece as it came in half. Since I wanted a wide runner, the length of my runner was exactly 3x the width. score!
- sewing machine
- pins
-iron
-trim
1.) fold a small fold (approx. 1/2 inch wide) and iron flat. Repeat this step through step 5 on each left and right side of your long main piece, left and right sides and bottoms of your ruffled pieces. The tops of the to-be ruffled pieces and top and bottom of your long piece will be sewn together so we don't need to worry about those.
2.) fold over again and pin to keep in place. These steps are crucial in creating a smooth, durable finished edge.
3.) iron over your second fold
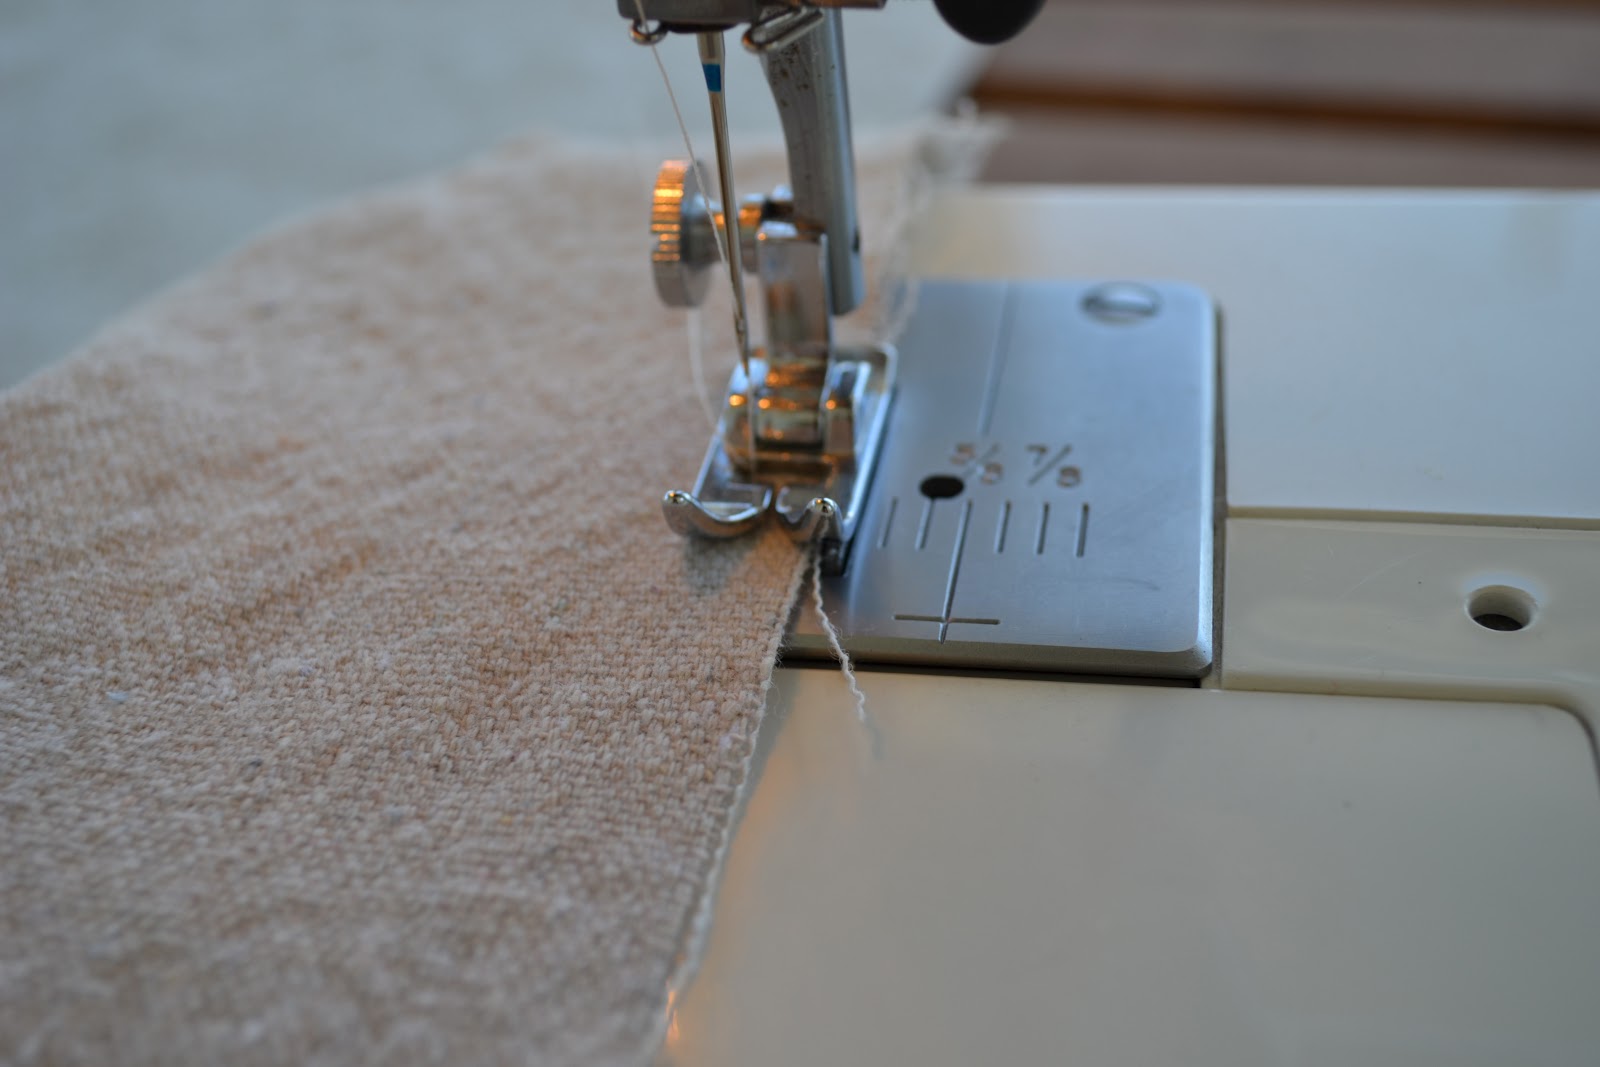
4.) Run a stitch closer to the crease of your fold
5.) Run a second stitch next to the first
6.) Now your finished edges have the superhuman strength of two stitches
Now for the ruffles. 
I have an old hand-me-down sewing machine from my Mom that lacks the fancy-pants ruffled setting. I'm keeping it real people.
 If yours has a ruffle setting, simple sew a ruffle. If you have a machine like mine, follow the following steps...
7.) Run two stitches on the unfinished tops of your to-be ruffled fabric, set on your widest stitch setting. It's important to run two stitches, because the thread is quite thin and can easily rip as you "scrunch"
8.) pull on the top threads and "scrunch" your fabric to create a ruffle. Scrunch, scrunch, scrunch carefully as to not rip the thread and have to start. all. over.
9.) Once you've scrunched and ruffled each ruffle piece, lay the unfinished ends together with the two "right" sides of each fabric together on the inside and the "wrong" sides outside. Pin in place.
10.) sew the ruffled pieces to your main piece. With my ottoman slipcovers, I found that sewing by hand was much easier, and came out much cleaner that using my sewing machine for this step. This time, I ran a quick basting stitch by hand, and then went over it with my sewing machine. The ruffled thick fabric can get "scrunched" and ruin the ruffles...so use caution.
11.) Apply a trim piece to the seam and cleverly hide any flaws in your sewing skills. Trim pieces are available at most craft stores with self-adhesive, or you can simply glue gun them on.

 There you have it.


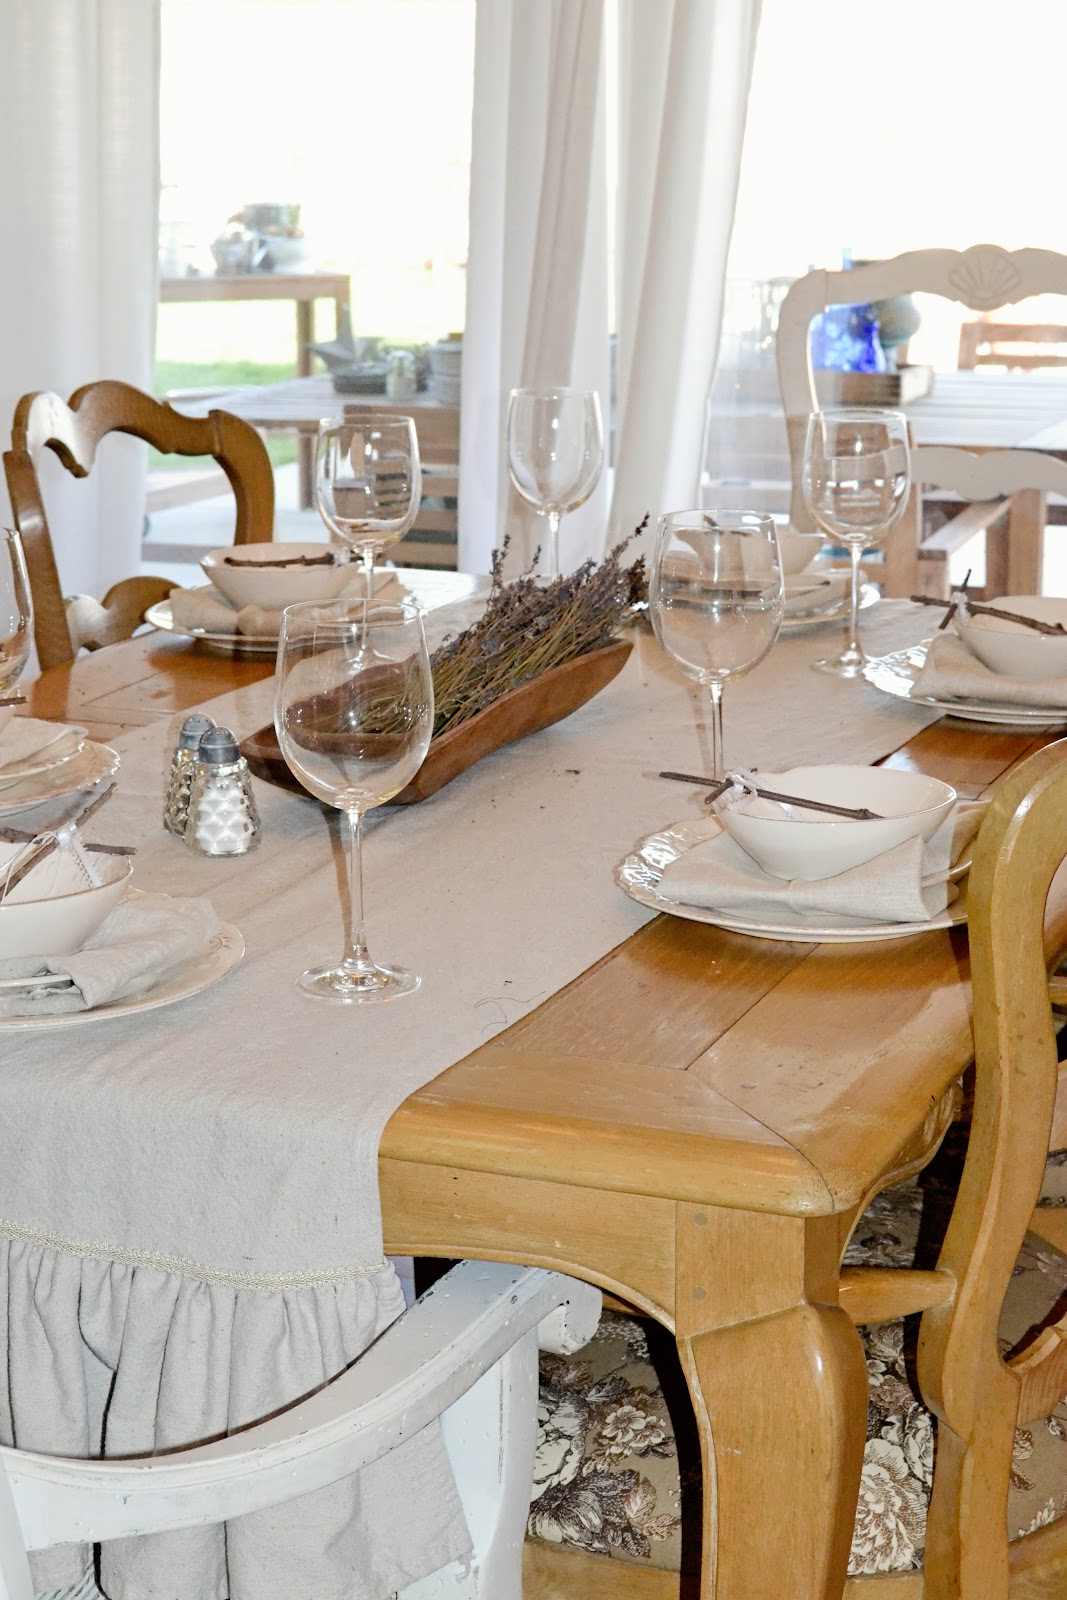
 I added some dried lavender to a vintage enamelware basin for a natural, Spring centerpiece
I'm loving the look. Clean, natural and bright. Just in time for Spring.
until next time, 
B

Tuesday, April 3, 2012

Cajun Shrimp and Conchiglie

I'm a huge fan of Cajun cooking, especially a big smokin' pot of jambalaya. Unfortunately for me, it's not Jesse's favorite. I made this sneaky dish the other night while I was craving something Cajun and to my surprise, J loved it! This dish is a bit spicy for littles, especially Ryder (15 months), so I modified a little side plate for my little man. 

Cajun Shrimp and Conchiglie {shells}
Ingredients 
- 2 cups uncooked Conchiglie (shells). Substitute with fusilli or penne
- 1 tbsp. butter & 1 tbsp. olive oil (butter for the flavor, olive oil for the high cooking temp.)
-1 shallot, chopped
- at lest 3 cloves garlic, chopped (I LOVE me some garlic, so I used more like 5)
- 1/4 cup chopped green onion
- 1 1/2 teaspoons Cajun seasoning (see recipe below, or you can use store bought- just be weary of sodium)
- 1 cup white wine or chicken broth
- 1 cup diced plum tomatoes
- 1 pound bag frozen medium shrimp (peeled and devained). You can use fresh if you want to be an over-achiever.
- at least two big handfuls of baby spinach (remember, spinach cooks down). If you've got a hubby like mine who isn't a fan of spinach- This recipe hides compliments it well. Throw in as much as you can!

Directions
1. Cook pasta according to box directions
2. In a medium skillet, heat the olive oil and butter, throw in the onion, shallots and garlic. Add Cajun seasoning and cook at least 2 minutes.
3. Add tomatoes, chicken broth or wine, bring to a simmer
4. Add spinach and shrimp and cook until shrimp is no longer opaque. (here's wear I simply grabbed a little pan, heated a little bit of olive oil and added some spinach.)
5. Add cooked Conchiglie and stir to combine. (add some cooked pasta to your spinach on the side)
Cajun Seasoning
Ingredients
- 1 tablespoon dried oregano
- 1tablespoon onion powder
- 1 tablespoon garlic powder
- 1 tablespoon paprika
- 1 tablespoon cayenne pepper (add more if you like it spicy)- 1 tablespoon ground black pepper
- salt to taste

Directions
Combine all ingredients in a plastic baggie and shake to combine. 

Enjoy!
B


Monday, April 2, 2012

New Treasures added to our Site!!

 a Salvaged Home's online shop is live and running!
Check out these yummy treasures we've just listed..

~Vintage Rustic Wooden Wheel Hay Pulley~
beautiful piece of industrial history

  ~Vintage Hanging Chatillon Scale~
in perfect condition and legal for trade
boasts beautiful wear and patina

~Vintage Wood Handled Hay/Meat Hook~
primitive hook with beautiful decorating potential

~Large Wooden Vintage Industrial Spool~
Wilson Bros. Pat Grip. This spool is made in England and has character, natural age and patina. 

~Vintage Wooden Letterpress~
9 (or 6)
  
~Vintage Wooden Letterpress~
7

~Vintage Glass Anchor Hocking Serva Snack Luncheon Plates~
set of 4. Forget the paper plates and plastic silverware…

~Vintage Clear Glass Diamond Pattern Stemmed Dessert Cups ~
Set of 4, Imagine serving your next ice cream sundaes in these clear glass vintage cups...


~Vintage Ball Perfect Mason Jar~
Dates back to 1920-1933. Boasts the highly sought after blue tint, and comes with zinc and milkglass lid.

~Antique Lavender Bottle, Burnham's Clam Buillon~
early 1900's

~Antique Lavender Bottle, Rubifoam for the teeth~
1887

~Antique Lavender Bottle, Burnett Standard Flavoring Extracts~
early 1900's

~Antique Lavender Bottle, Abbot Alkaloidal Company~
early 1900's

~Antique Vintage Lindstrom Spinning Metal Toy Top~
Such strong character in a small treasure


Have a wonderful day!
~click here to be directed to our shop~